
Are you a handyman looking to learn how to change a Makita drill bit? Look no further. In this article, we’ll guide you through the simple steps to swap out the drill bit on your Makita drill. Makita drills are known for their ease of operation, and changing the drill bit is no exception. Over time, drill bits wear down due to frequent use and drilling tough materials. By changing the drill bit, you can improve the performance and efficiency of your drill. So, let’s get started!
Step 1: Switch the Makita Drill to Counter-Clockwise
Before you begin, ensure the battery is securely attached to your Makita drill. Makita cordless drills are designed with a reverse and forward function, which can be selected by flipping a push-button switch. To change the drill bit, switch the drill to the reverse or counter-clockwise position. Look for an arrow pointing towards the back of the drill or a counter-clockwise symbol.
Step 2: Squeeze the Trigger
With the drill set to reverse mode, firmly grip the front half of the chuck and squeeze the trigger on your Makita drill. This action will disengage the chuck, allowing you to remove the old drill bit easily.

Step 3: Install the New Drill Bit
To insert the new drill bit, ensure the chuck is open enough. Return the push-button switch to the forward or clockwise position on the drill. Follow these steps to install the new drill bit:
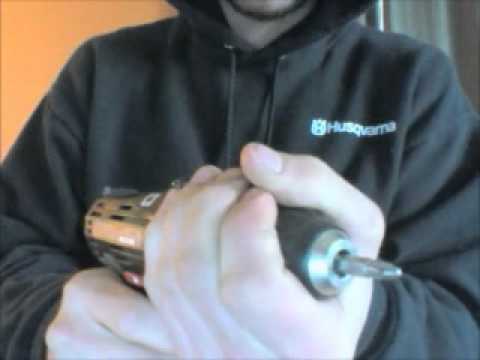
- Hold the drill bit securely at the center of the chuck.
- Insert the end portion of the new drill bit into the chuck.
- Firmly grip the chuck throughout the process.
- Squeeze the trigger, and the chuck will begin to close.
- Once the drill bit fits snugly in the chuck, tighten it.
- Press the trigger again to ensure a secure hold.

Pro Tip: It’s important to visually center the drill bit in the chuck as you tighten it. Additionally, maintain a firm grip on the chuck throughout the entire process.
FAQs
Q: Can I use the same technique to change drill bits on other brands of drills?
A: The steps outlined in this article are specifically for changing drill bits on Makita drills. While some of the techniques may be similar for other brands, it’s best to consult the user manual for your specific drill.
Q: How often should I change my drill bits?
A: The frequency of changing drill bits depends on the frequency of usage and the materials being drilled. As a general guideline, it’s a good idea to inspect your drill bits regularly for signs of wear and replace them when necessary.
Q: Can I use any type of drill bit with my Makita drill?
A: Makita drills are compatible with a wide range of drill bits. However, it’s important to choose the appropriate drill bit for the material you are drilling. Refer to the manufacturer’s recommendations for the best results.
Conclusion
Now that you know how to change a Makita drill bit, you can easily maintain the performance and efficiency of your drill. Remember to always follow safety precautions and consult the user manual for any specific instructions related to your drill. Happy drilling!
For more information and recommendations on the best drill press for metal, visit Best Drill Press For Metal.

As the CEO of BestDrillPressforMetal.com, I take immense pride in our unwavering commitment to transformation and excellence in metalworking. I am driven and passionate about creating the best possible user experience for our customers and helping them achieve their goals with precision and innovation. With my guidance, we have established ourselves as a leader and trusted partner within the industry by leveraging cutting-edge technologies to push boundaries with incredible products that exceed expectations. We understand that metalworking is more than just a process; it is an art form made real through passion, dedication, and diligence—all of which embody our core values at BestDrillPressforMetal.com.