
One of the most essential tools for any DIY enthusiast or professional is the trusty power drill. With its speed and torque, a power drill can bore holes, tighten fasteners, and even mix paint. There’s truly no replacement for the convenience and accuracy that a drill provides.
If you’re new to the world of drills, it’s natural to feel a bit hesitant and overwhelmed by the power they possess. But fear not! Learning how to use a drill and understanding its different types can save you time and effort in all your projects. In this guide, we’ll explore the various types of drills, how to use them, and important safety tips to keep in mind.
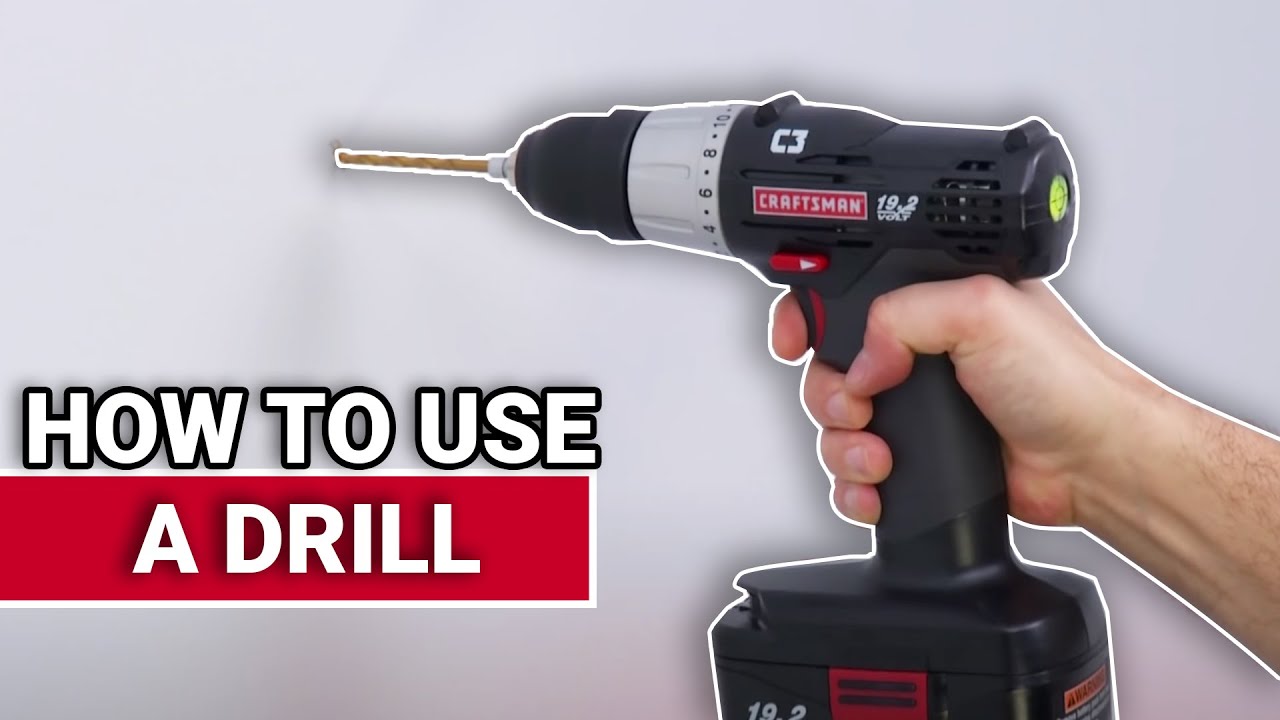
Important Drill Parts
Before we dive into the specifics of drill usage, let’s familiarize ourselves with the different parts of a power drill. Understanding these components will help you navigate your drill with ease:
- Chuck: The chuck is the part of the drill that clamps down on the drill bit or driver bit. Most modern drills feature keyless chucks, but older drills may require a special wrench for operation.
- Trigger: The trigger is the on-off switch used to activate the drill’s motor. Pressure-sensitive triggers allow for variable speed control.
- Motor: Located at the top of most drills, the motor spins the chuck and bits.
- Grip: The grip is where you hold the drill. It is often covered with rubber for anti-slip purposes and enhanced comfort.
- Torque adjustment: This ring at the base of the chuck allows you to select the amount of torque the drill exerts. A clutch inside the drill prevents over-torquing by slipping at the predetermined value.
- Reverse switch: Drills can spin clockwise and counterclockwise. The reverse switch allows you to select the desired direction.
- Cord or battery: The drill is powered either by a cord that plugs into an electrical outlet or by a rechargeable battery.

3 Types of Drill/Drivers to Know
Power drills have come a long way since their invention over 130 years ago. Today, there are three main types of drill/drivers available:
1. Corded Drill
The corded drill is the original power drill. It features an electrical cord that needs to be plugged into an outlet or an extension cord to power the motor. Corded drills are often heavy-duty and generate substantial torque. While they may lack some of the advanced features found in battery-powered drills, the absence of a battery means you don’t have to worry about running out of power during extended use.
Our Recommendation: DEWALT 3/8″ VSR Mid-Handle Drill on Amazon for $89.16
2. Cordless Drill
Similar in design to corded drills, cordless drills use detachable, rechargeable batteries. These drills offer greater portability and freedom of movement. Although they typically have less torque compared to their corded counterparts, cordless drills come with a range of features such as keyless chucks, LED work lights, and belt clips. Modern cordless drills are powerful, long-lasting, and a favorite among DIY enthusiasts.
Our Recommendation: DEWALT 20V MAX Compact Drill/Driver Kit on Amazon for $116.49
3. Right-Angle Drill
Right-angle drills are visually distinct from corded and cordless drills. These drills have long handles that attach to the bottom of the motor, allowing for maneuverability in tight spots where traditional drills can’t fit. They are ideal for projects involving cabinets, stud walls, engine bays, and other confined areas.
Our Recommendation: DEWALT 20V MAX Right Angle Cordless Drill on Amazon for $176.89

Drill Safety Tips
As with any power tool, it’s crucial to prioritize safety when using a drill. Here are some important safety tips to keep in mind:
- Always hold the drill securely during operation to prevent injuries caused by the drill’s torque.
- Before drilling into a wall, use a stud finder to locate hidden electrical wires and plumbing pipes.
- Protect your eyes by wearing safety glasses to shield against airborne debris.
- Ensure there are no obstructions behind or underneath the workpiece that the drill bit shouldn’t touch.
- Be mindful of extension cords to avoid tripping or falls.
Initial Setup and Calibration
Getting your drill ready for use is fairly straightforward. Here are the steps to follow:
- Charge the battery or plug in the cord.
- Choose the appropriate drill bit for your task.
- Loosen the chuck by switching to the “reverse” mode.
- Open the chuck’s jaws by holding onto the grip and spinning the motor.
- Insert the drill bit into the chuck.
- Switch the direction back to “clockwise” and squeeze the trigger until the chuck tightens around the bit.
How to Use a Drill for Drilling a Hole
Drilling holes in materials like wood and metal is the primary function of a drill. Here’s a step-by-step guide to drilling a hole correctly:
Step 1: Install the correct drill bit.
Select the appropriate drill bit size for your project. If there are no specific instructions, visually match the bit’s diameter with the screw shaft (not the threads). Once chosen, install the bit in the chuck following the setup steps mentioned earlier.
Step 2: Place the tip of the drill bit on the mark.
With light pressure, position the drill bit’s tip exactly on the mark where you want the hole. Ensure that the drill bit is perpendicular to the target surface. Placing your free hand on the back of the drill can help stabilize it.
Step 3: Lightly squeeze the trigger.
Switch the drill to the “forward” mode, and with light pressure on the trigger, start the bit slowly. If the bit starts to “walk” away from the mark, stop, release the trigger, reposition the tip of the bit on the mark, and start again. Slowly increasing the speed helps maintain accuracy.
Step 4: Drill all the way through the surface.
Gradually increase the speed by squeezing the trigger as the bit digs into the material. Apply light forward pressure to help the bit cut smoothly. Be sure to keep the drill bit perpendicular to maintain a straight hole. Release the pressure and slow down the bit when it is close to drilling all the way through to prevent jamming.
When drilling through metal, use slow speeds to manage heat and prevent the bit from dulling.
How to Use a Drill for Driving Screws
Using a drill to tighten or loosen screws can save time and effort. Here’s how to do it effectively:
Step 1: Match the driver bit to the fastener head.
Select the correct driver bit that matches the fastener head. Loosen the chuck, insert the bit, and tighten it down following the steps mentioned earlier.
Step 2: Seat the bit into the fastener.
Position the driver bit firmly into the head of the screw. Hold the drill in line with the fastener to avoid damaging the screw or causing it to slip.
Step 3: Squeeze the trigger and apply forward pressure.
With the bit seated and the drill aligned, squeeze the trigger to start the screw. Apply light pressure and keep the drill aligned with the fastener. As the screw bites into the material, increase the speed and apply more forward pressure. Maintain control and adjust the drill angle if needed until the screw reaches the desired depth.
Drill Maintenance Tips
To keep your drill in top shape, follow these maintenance tips:
- Regularly clean your drill by blowing away dust and dirt, paying close attention to the motor housing and chuck.
- Take care of cordless drill batteries by following the manufacturer’s guidelines for charging and storage.
- Avoid bashing the chuck against work surfaces when the bit drills all the way through to extend its lifespan.
- If your drill’s power starts to diminish, consider changing the motor’s brushes. Consult the manufacturer for instructions and replacements.
FAQs
Q: Can I use a cordless drill for heavy-duty tasks?
A: While cordless drills have become more powerful, they may not match the torque output of corded drills. For heavy-duty tasks, corded drills are generally more suitable.
Q: How do I choose the right drill bit for my project?
A: The size and material of the material you are drilling into determine the drill bit you should use. Consult the drilling guidelines or seek advice from experts to select the appropriate bit.
Q: Can I use a drill to remove screws?
A: Absolutely! A drill can be used in reverse mode to remove screws quickly and efficiently.
Conclusion
With the right knowledge and practice, using a drill can be a breeze. From drilling holes to driving screws, a drill is an indispensable tool for all your DIY projects. By understanding the different types of drills, following safety guidelines, and mastering the drilling techniques outlined in this guide, you’ll be well on your way to becoming a confident user. Happy drilling!

As the CEO of BestDrillPressforMetal.com, I take immense pride in our unwavering commitment to transformation and excellence in metalworking. I am driven and passionate about creating the best possible user experience for our customers and helping them achieve their goals with precision and innovation. With my guidance, we have established ourselves as a leader and trusted partner within the industry by leveraging cutting-edge technologies to push boundaries with incredible products that exceed expectations. We understand that metalworking is more than just a process; it is an art form made real through passion, dedication, and diligence—all of which embody our core values at BestDrillPressforMetal.com.