
Do you want to make your drill press more functional and easier to use? Look no further! In this article, we will guide you through building a simple and sturdy DIY drill press stand that will elevate your woodworking projects. With just five 2×4s and some basic woodworking tools, you can create a compact and practical drill press stand for your workshop, garage, or shed shop.
Inspiration for This Project
The idea for this DIY drill press stand came from the positive feedback received for a previous power tool stand. We wanted to expand on the simple construction and no-frills design that DIYers appreciated. To cater to modern benchtop drill presses, we adjusted the dimensions to make this project more compact and accessible to a wider range of users.
Where Can You Use This Drill Press Stand?
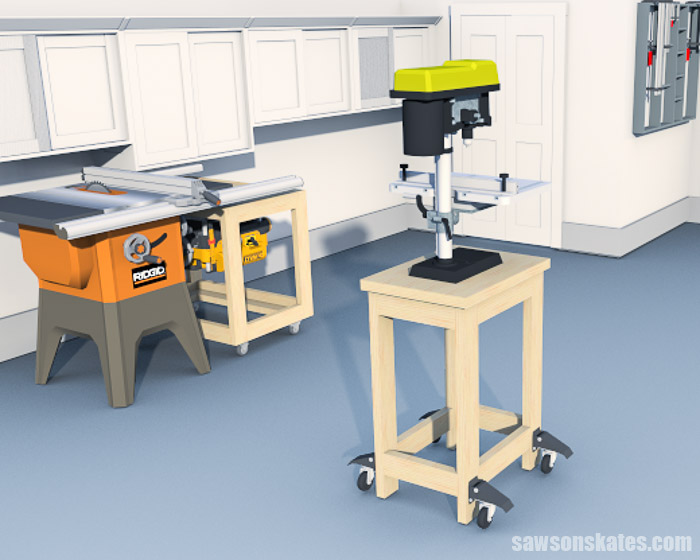
This portable drill press stand is perfect for small shops, garages, or shed workshops. Its size and functionality make it a versatile addition to any workspace.
What Tools Do You Need to Make a Drill Press Stand?
This drill press stand project is beginner-friendly and requires only basic woodworking skills and a few common tools:
- Miter Saw: Use a miter saw to cut all the parts to length.
- Pocket Hole Jig: Any pocket hole jig will work for drilling pocket holes.
- Drill: You will need a drill to create pocket holes, use a Forstner bit for table top fasteners, and drive screws to join the pieces together.
What Wood Should You Use?
We designed this project to be made with pine 2×4s, eliminating the need for plywood or more advanced equipment like a circular saw or table saw. Five pine 2×4s are all you need to create a sturdy and durable drill press stand.
Customize Your Drill Press Stand Plans
There are several ways to customize your drill press stand to suit your needs:
- Shelf: Add a bottom panel to the base of the stand for additional storage.
- Drawers: Install drawer slides on the side pieces and build drawer boxes for extra storage.
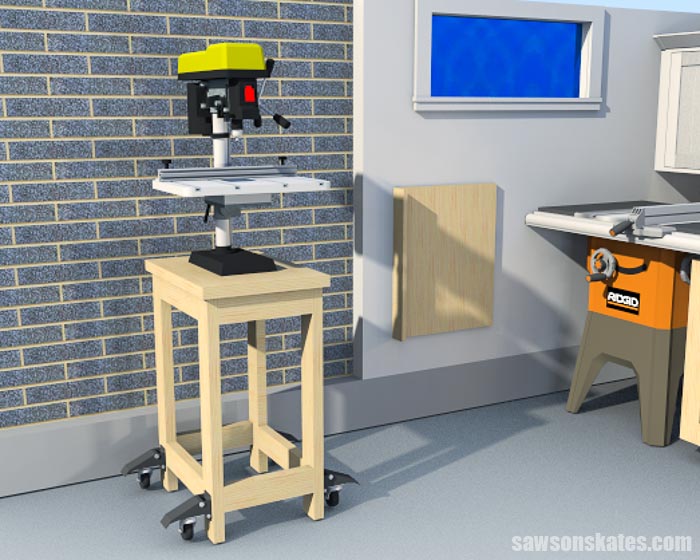
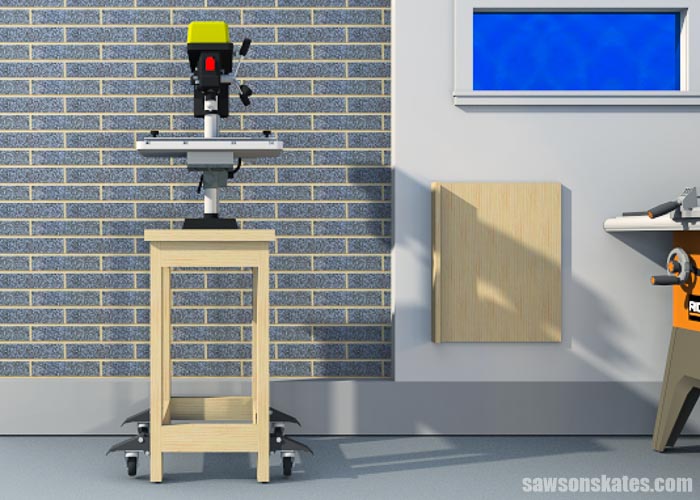
- Caster Wheels: Make your project mobile by adding caster wheels.
How Do You Finish the Drill Press Stand?
You can choose from various finishing options, such as leaving it natural or painting it to match your workshop’s aesthetics. Painting workshop projects can give them a more polished and professional look.
Step-by-Step Guide to Building a DIY Drill Press Stand
Step 1. Make the Leg Assemblies
Start by cutting four pieces of wood to length for the legs. Then, cut four more pieces for the rails and drill pocket holes in each end. Apply glue to the ends of the rails, clamp them, and attach using 2-½” pocket screws. Repeat this process for the other leg assembly.
Step 2. Attach the Side Rails
Cut five pieces of wood to length for the rails and drill pocket holes in each end. Of the five pieces, four will be used as side rails, and one will serve as a stretcher in the next step. Attach the side rails to one leg assembly using pocket screws, and then join the first leg assembly to the second leg assembly using pocket screws as well.
Step 3. Attach the Stretcher
Attach the stretcher (from Step 2) by applying glue to its ends and centering it on the long rails. Use 2-½” pocket screws to secure the stretcher.
Step 4. Make the Top
Cut five pieces of wood to length for the top. You can assemble the top with glue or edge join the pieces using glue and pocket holes. Apply glue to the edges, clamp them, and attach using 2-½” pocket hole screws.
Step 5. Attach the Top
Drill holes for table top fasteners to allow for seasonal wood movement. Attach table top fasteners to the top and secure it to the legs using #8 1-¼” wood screws.
Step 6. Attach the Drill Press
Finally, attach your drill press to the table top using appropriate fasteners.
FAQs
Q: Can I customize the drill press stand?
A: Absolutely! You can add a shelf, drawers, or caster wheels to make the stand more suited to your needs.
Q: What finishing options do I have for the drill press stand?
A: You can choose to leave it natural or paint it according to your preference.
Q: Is this project suitable for beginners?
A: Yes, this project is beginner-friendly and can be completed with basic woodworking skills and tools.
Conclusion
Building a DIY drill press stand is a rewarding project that enhances the functionality and usability of your drill press. With our step-by-step guide and a few basic woodworking tools, you can create a sturdy and practical stand to elevate your woodworking projects. So, why wait? Get started on building your own DIY drill press stand today! For more information and detailed instructions, visit Best Drill Press For Metal.

As the CEO of BestDrillPressforMetal.com, I take immense pride in our unwavering commitment to transformation and excellence in metalworking. I am driven and passionate about creating the best possible user experience for our customers and helping them achieve their goals with precision and innovation. With my guidance, we have established ourselves as a leader and trusted partner within the industry by leveraging cutting-edge technologies to push boundaries with incredible products that exceed expectations. We understand that metalworking is more than just a process; it is an art form made real through passion, dedication, and diligence—all of which embody our core values at BestDrillPressforMetal.com.